Now there are many formats available for both date and time, therefore you need to choose carefully. You could always try different date and time format for example Short date, Long date, Short time and Longtime etc. So without wasting any time let’s see How to Change Date and Time Formats in Windows 10 with the help of the below-listed guide.
How to Change Date and Time Formats in Windows 10
Make sure to create a restore point just in case something goes wrong.
How to Change Date and Time Formats in Windows 10 Method 1: Change Date and Time Formats in Windows 10 Settings Method 2: Change Date and Time Formats in Control Panel
Method 1: Change Date and Time Formats in Windows 10 Settings
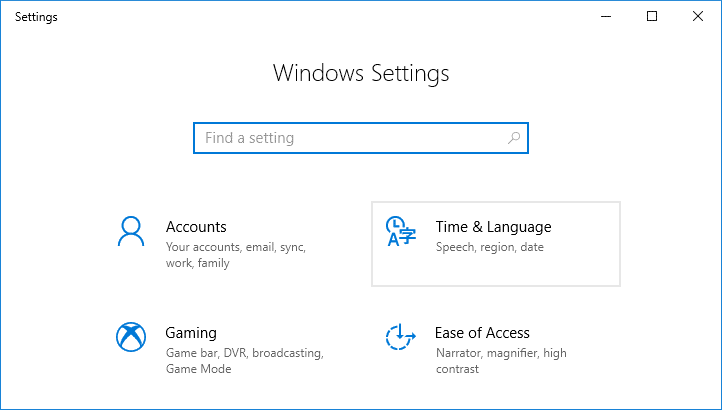
Press Windows Key + I to open the Settings app then click on Time & Language.
Now from the left-hand menu click on Date & time.
Next, in the right window pane scroll down and click on “Change date and time formats” link at the bottom.
Select the date and time formats you want from the drop-downs then close the Settings window.
Short date (dd-MM-yyyy) Long date (dd MMMM yyyy) Short time (H:mm) Long time (H:mm:ss)
- Reboot your PC to save changes. This is How to Change Date and Time Formats in Windows 10, but if you are facing any problem using this method then don’t worry, just skip this method and follow the next one.
Method 2: Change Date and Time Formats in Control Panel
Although you can change the date and time format in Windows 10 Settings app you can’t add custom formats and therefore to add a custom format you need to use Control Panel.
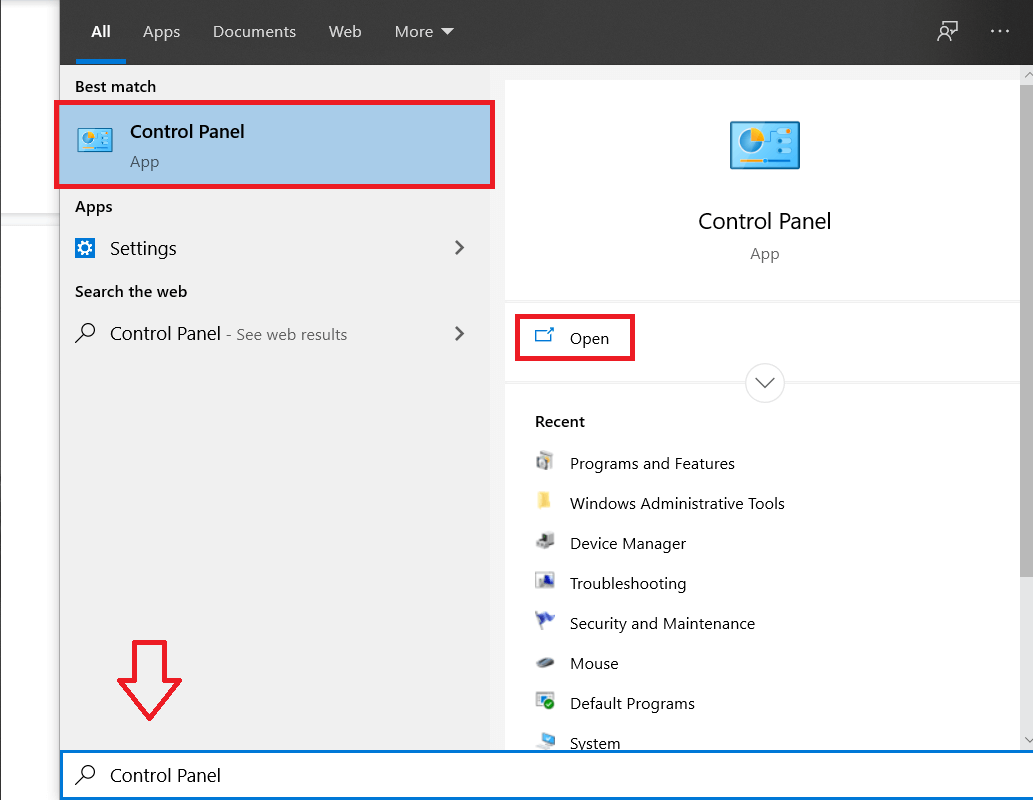
Type control in Windows Search then click on Control Panel from the search result.
Under “View by” select Category then click on Clock and Region.
Next, under Region click on “Change date, time, or number formats“.
Now under “Date and time formats” section, you can select any format you want from the individual dropdowns. Short date (dd-MM-yyyy) Long date (dd MMMM yyyy) Short time (H:mm) Long time (H:mm:ss)
In order to add a custom format click on “Additional settings” link at the bottom.
Make sure to switch to the Time tab then select or enter any custom time formats you want to use.
For example, you can choose the “AM symbol” to be displayed as “Before Noon” and you can change the Short and Longtime formats. 7. Similarly select the Date tab then select or enter any custom date formats you want to use.
Note: Here you can change the Short and Long date, for example, you can use / (Forward slash) or. (dot) instead of – (dash) in between date format (ex: 16.05.2018 or 16/05/2018). 8. To apply these changes click Apply followed by OK. 9. If you messed up the date and time formats, you could always click the Reset button on step 6.
- Close everything and reboot your PC to save changes. Recommended:
Decrypt EFS Encrypted Files and Folders in Windows 10 Allow or Prevent Users from Changing the Date and Time in Windows 10 Enable or Disable Secure Login in Windows 10 3 Ways to Change Cursor Thickness in Windows 10
That’s it you have successfully learned How to Change Date and Time Formats in Windows 10 but if you still have any queries regarding this tutorial then feel free to ask them in the comment’s section.